
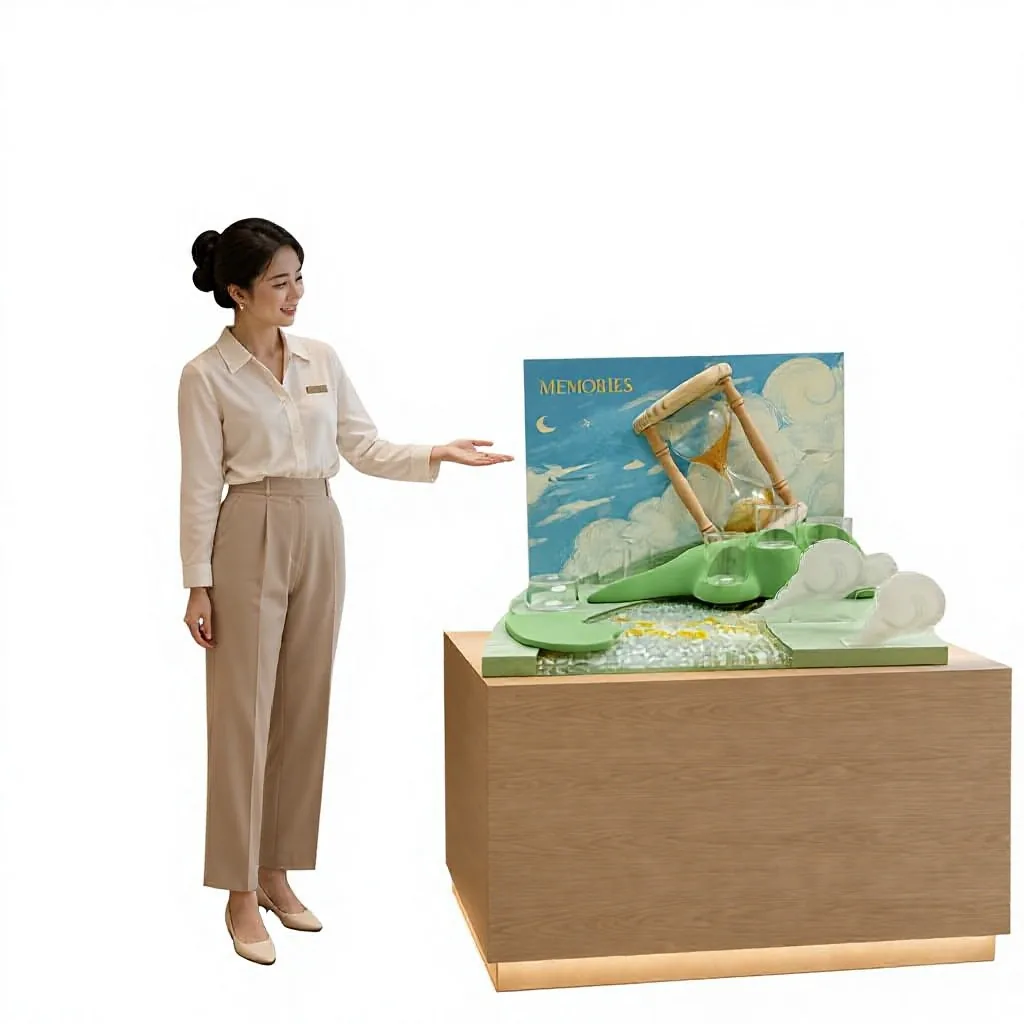
Consider a display concept built around an hourglass landscape: a printed upright backdrop, raised green terrain, clear acrylic figure sockets and a glowing base. The challenge is not any single material. It is making the whole structure read as a scene while leaving enough practical room for collectible figures.
This tension is common in boutique and toy-store display briefs. A strong theme still needs sensible spacing, replaceable graphics and an assembly sequence that does not require a technician at every store. The sections below show how to evaluate those decisions before production drawings begin.
Start with the figures, not the backdrop
Artwork usually arrives first, so it is tempting to design the background and fit the products into whatever space remains. A safer planning sequence starts with the maximum figure footprint, height and centre of gravity. Tall figures need more clearance behind them; heavy figures need a wider landing area; small blind-box figures can sit closer together but still need finger room for placement.
As a planning method, mark three things for every position: the visible silhouette, the hand-access zone and the support zone. If two silhouettes overlap too much from the normal viewing angle, the rear figure disappears. If the hand-access zones collide, store staff cannot reset the display quickly. These checks are less glamorous than the final artwork, but they help reveal whether the stand will feel effortless or awkward in daily use.
Use each material for one clear job
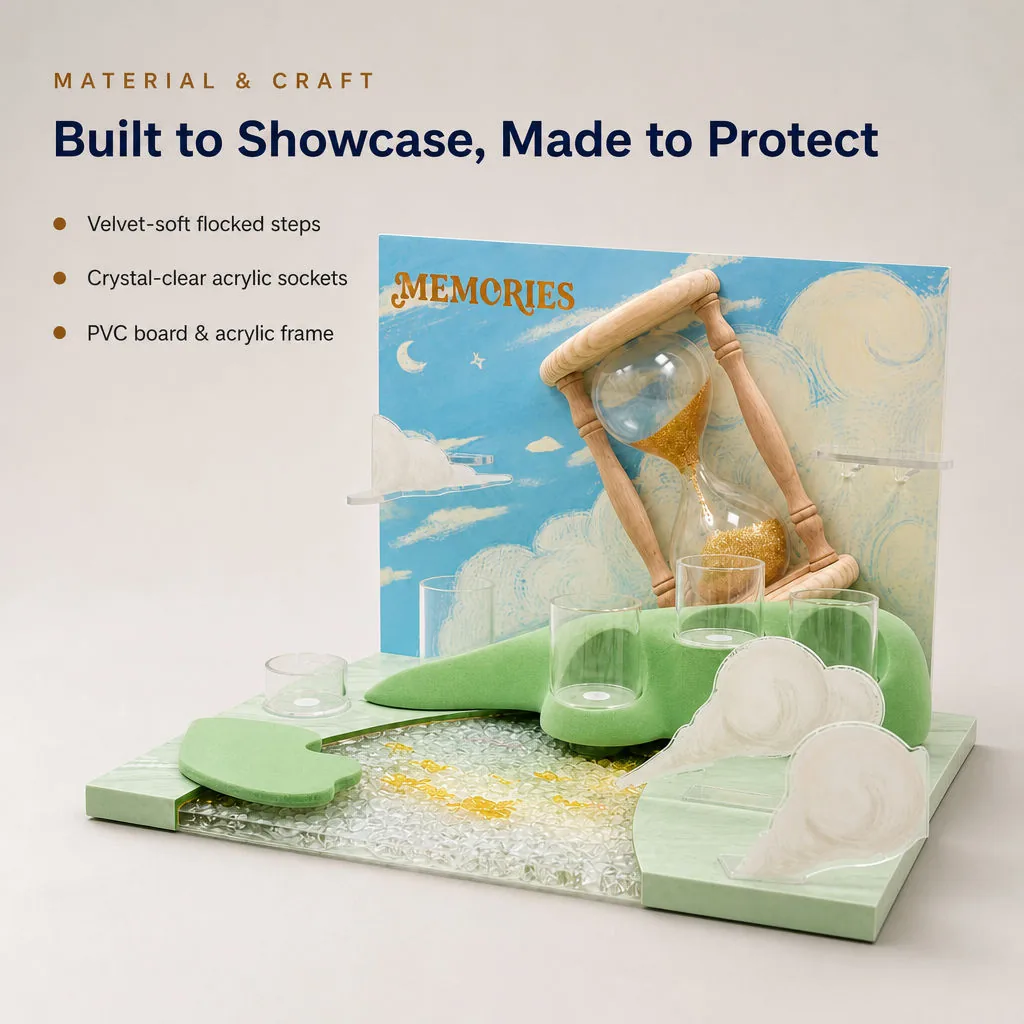
In this concept, the soft green flocked surfaces create the landscape and reduce hard contact around the figures. Clear acrylic sockets locate each piece without adding a heavy visual outline. The printed board carries the sky artwork, while the acrylic frame keeps the structure crisp and retail-ready.
Mixing materials works best when every layer has a reason to be there. Flocking should stop cleanly before joints and lighting channels. Transparent parts need polished edges and enough thickness to avoid flexing. Printed panels need registration points so the illustration still lines up after the stand has been taken apart and rebuilt.
Build the viewing angle before adding detail
Most counter displays are seen from slightly above and from several steps away. Test the height difference between front and rear positions before refining decorative shapes. A gentle rise can keep rear figures visible without making the stand look like shelving.
Clear holders are useful, but they are not invisible. Their diameter, wall thickness and position affect the composition. We keep them away from important printed details and leave a little visual breathing room between the holder and the figure. For projects that need a more architectural stack, our MODU-BOX system uses the same principle at enclosure scale: define the object first, then build the structure around it.
Treat lighting as a serviceable layer
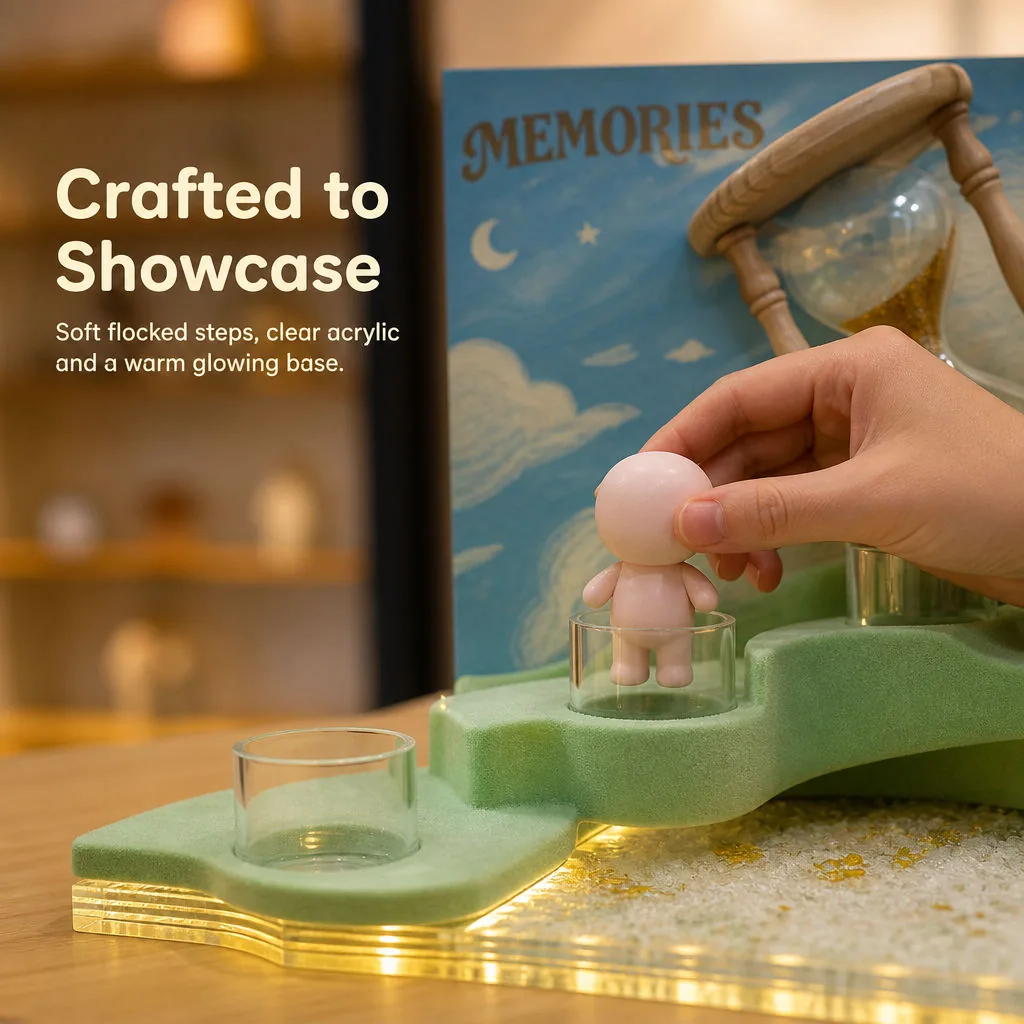
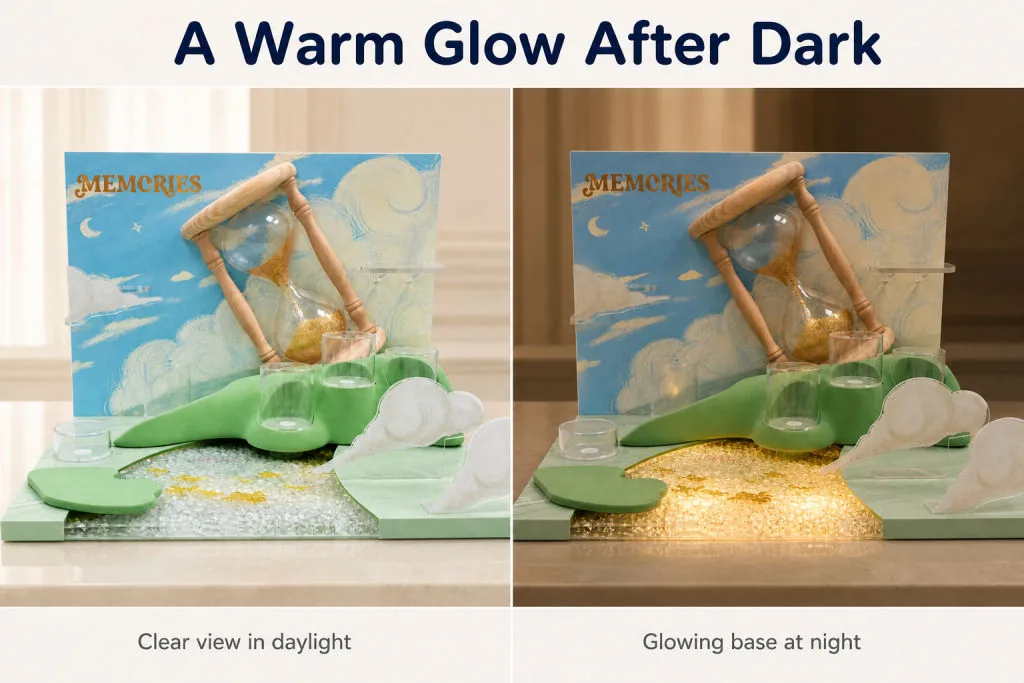
Lighting can give a display depth after dark, especially when textured clear acrylic sits above the light source. It can also become the first failure point if the cable, switch or LED strip is trapped inside a decorative assembly. Our preference is to separate the lit base from the themed upper parts wherever the structure allows it.
That approach makes testing and replacement simpler. It also lets a buyer reuse the display concept with a non-lit base for one channel and an illuminated base for another. If lighting is central to the range, an interchangeable platform such as LIGHT-SLOT can keep the electrical layer consistent while the artwork and figure layout change.
Plan the assembly sequence on paper
“Tool-free” only helps when the parts naturally tell the user what to do next. Before a sample is cut, number the assembly steps and flag any action that requires bending a printed panel, reaching under an installed shelf or aligning several tabs at once. Those are likely points of damage or frustration.
For a mixed-material display, the practical sequence is often base first, lighting test, backdrop, terrain modules, clear supports and figures last. Fragile decorative pieces should not carry structural load. Components that may need cleaning or replacement should remain accessible without dismantling the entire stand.
Make the theme replaceable
A buyer may launch one character set now and another next season. Reusing the same connection points, base envelope and packaging logic turns that refresh into a new insert set rather than a completely new project. The printed backdrop, flocked terrain colour and figure layout can change while the engineering underneath stays familiar.
This is also where layered acrylic can do more than a flat graphic. Separate foreground, mid-ground and background elements can create depth without increasing the footprint too much, allowing artwork to become part of the structure rather than simply sit behind it.
What to send before we quote a custom display
- Figure dimensions, weight and the number of display positions
- Target counter or shelf footprint
- Artwork files and any areas that must remain unobstructed
- Lighting preference and destination power requirements
- Expected packing method and whether stores need tool-free assembly
- Reference photos showing the intended retail environment
Even a rough sketch is enough to start a useful engineering conversation. If you have the figures but not the structure, send the dimensions through our project enquiry form. We can turn the brief into a manufacturable layout before the decorative details are locked.